

How to: DIY Ice Cube Watercolours
HOW TO:
DIY Ice Cube Watercolour Paints
Kids love to explore the world around them all the while getting their hands dirty and doing something creative. We are happy to welcome back Retykle Ambassador’s, Patricia Crockett, to show us how to make a fun, easy, and eco-friendly DIY ice cube watercolour paints with things you already have at home!
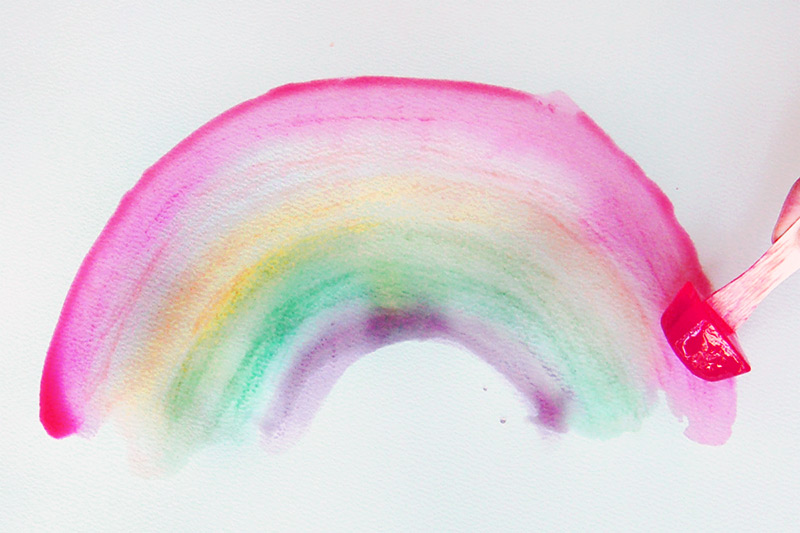
Ice cube watercolour paints are also a great way to beat the heat and keep the kiddo(s) entertained. The awesome thing about this project is that no matter what these always turn into something lovely. You can make them all one colour or have a whole rainbow of colours!
Materials
- Water
- Measuring cup
- Watercolour paint
- Watercolour paper (or thick paper to avoid tearing)
- Paint brush (for mixing)
- Ice cube tray(s)
- An old towel or drop cloth
- Baby wipes or hand towels for wiping hands
- Mini craft/popsicle sticks (optional)
- Glitter (optional)

Let's paint!
- Start by diluting the watercolour paint in a measuring cup that you can easily pour from.
- Pour the mixture into an ice cube tray or small freezer-safe container.
- Repeat for each colour you’d like to make.
- Optional: Add mini craft/popsicle sticks into the ice cube tray. You can lean them against one side to keep them standing up.
- Freeze for a couple of hours until solid.
- Start cube painting on the paper once the ice cubes have become frozen.


Crafty Tips
- If you are using floor space, wet the area you will be painting before you start. This will allow the ice to glide much easier on the surface of the paper you are painting on. It also makes it much easier when it’s clean-up time!
- The addition of masking tape creates different art from regular ice cube art.
- If the colour is too light you are always welcome to add more watercolour for next time.
- Another option is to make your own watercolour paints that are safe for your kids to use and you know exactly what goes into them. Happy Hooligans have a great recipe for DIY watercolours guide.
- To make sure you have enough to last one sitting of painting time, I suggest that you make more than you may need just in case some melt more quickly than others.
No matter the results, one thing is for sure: your tyke(s) will love this unique painting experience!

Leave a comment