

How to: Upcycled Busy Board
HOW TO:
Upcycled Busy Board

A busy board encourages your small tykes to explore new textures, objects, and incorporate fine motor skills.
For this craft we are happy to welcome back one of our Retykle Ambassador’s, @littlecitytales, to show us how to make a fun and educational busy board with things you already have at home!
For this project, you'll need:

- Wet wipe covers
- Squeeze pouch caps
- Cardboard
- Yakult bottle
- Water bottle
- Kitchen sponge
- Aluminum foil
- Glue gun
- Cellotape
- Command strips
- Small toy car
- Any other gadgets!
Step 1: Spinning Colour Wheel
Prepare a large flat piece of cardboard. This will form the base of your busy board. The harder the cardboard, the better!
Trace a circular object such as a bowl onto a separate piece of cardboard.
Cut and paint into six segments – red, orange, yellow, green, blue and purple. Pierce a hole in the middle of your wheel and a hole on your board with a pencil and insert a paper fastener to secure.

Step 2: Sensory Wet Wipe Flaps
Make sure all the wet wipes have been removed from the pack. Then choose any household material that would work well for sensory experiences. We opted for a sponge and aluminium foil. Other ideas include bubble wrap, sand paper, loofahs, etc.
Trace the approximate size of your flap onto the material and cut out. Adhere both the material and the flap onto your board using glue gun.

Step 3: Squeeze Pouch Caps
Cut out the twisty caps of your baby’s food pouches, retaining a little bit of plastic, around half a thumb’s length. Wash and dry the caps. Pierce your cardboard “board” with a pencil and insert the cap through. You might need to open up the hole a little bigger if needed. Secure the plastic parts of your caps onto the cardboard at the back with glue gun.

Step 4: Bottle Ball Run

Cut a small water bottle around one third from the top. Use cellotape to wrap the edges so the plastic is not scratchy for little fingers. Cut a hole near the bottom of your bottle where the ball would be dropped in.
Then secure onto your board with glue gun. First secure the longer part of the bottle at an angle, and drop the ball to estimate where it would end. Adhere the shorter bottle end to “collect” the ball.
Step 5: Yakult Shaker
Wash and dry a yakult bottle. Put some rice or pasta from your pantry into the bottle and seal the top. You can seal directly with cellotape or find a cap that fits (with added cellotape).
Adhere your shaker to the board with a command strip or other self adhesive you have.

Step 6: Other Gadgets
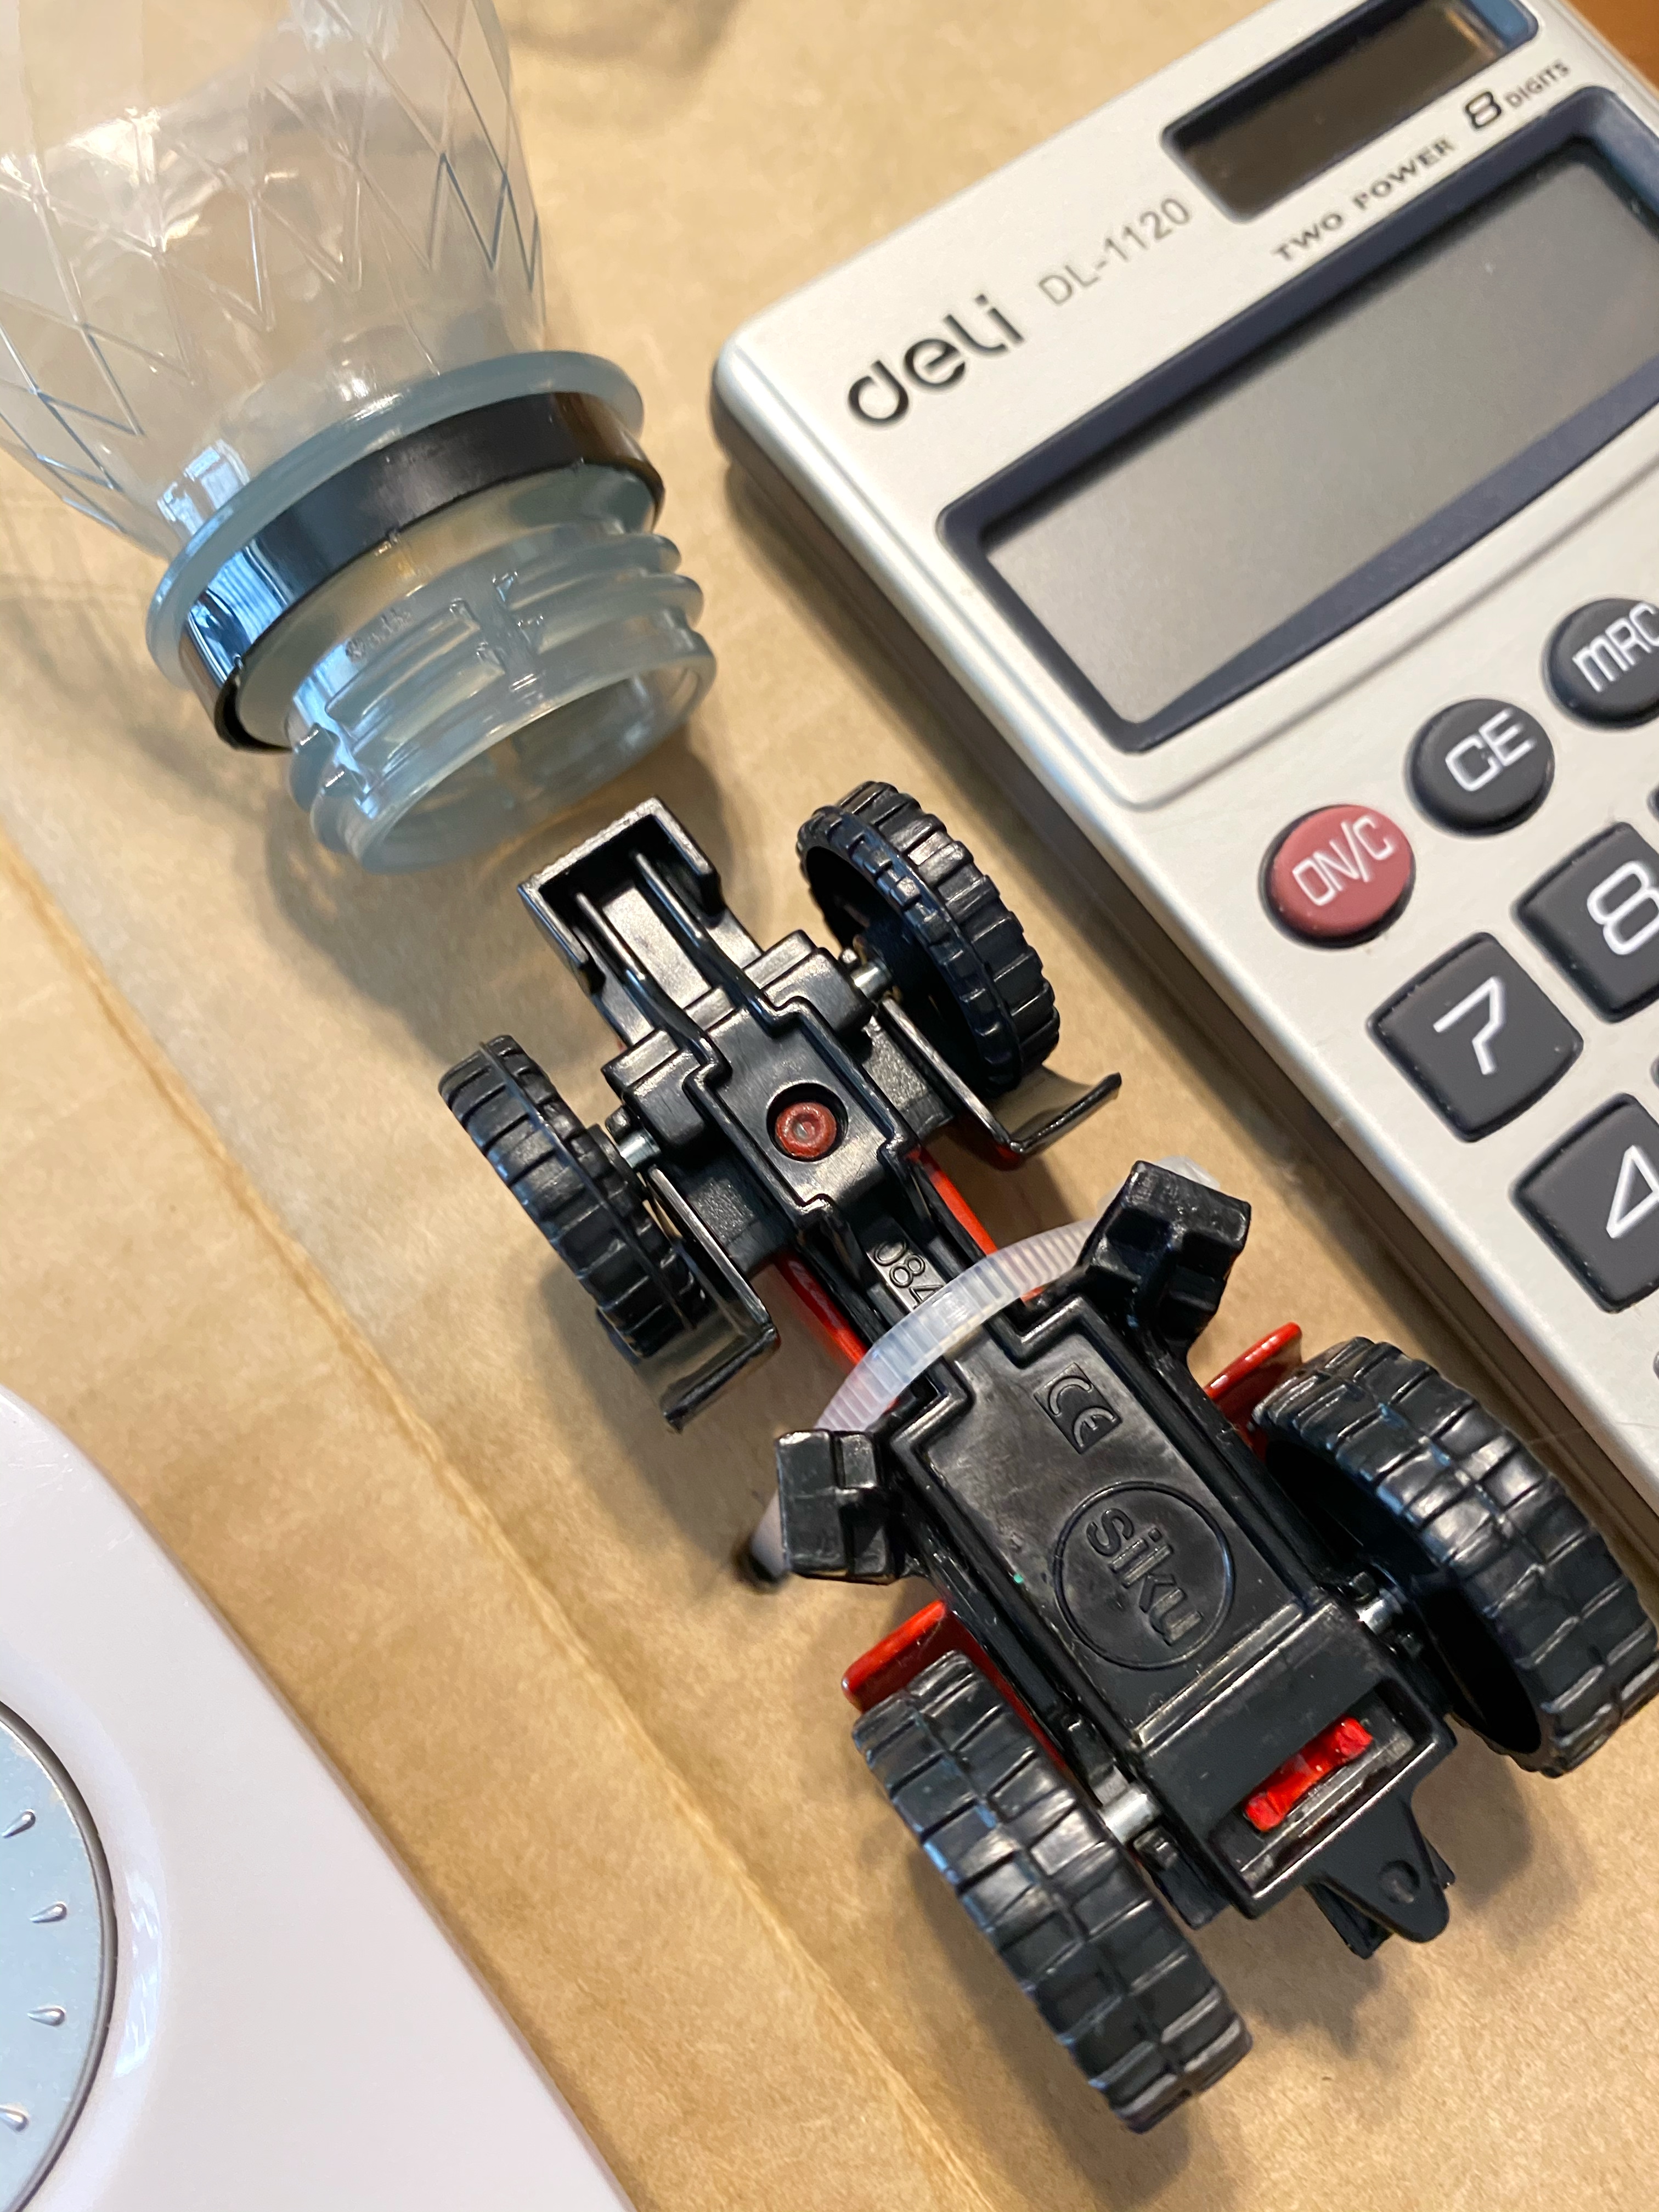
We found other gadgets at home that are sitting idle, such as a broken fan control, an old calculator and a plastic mirror. You can be creative and include any items you think your child would enjoy!
Adhere these using command strip or glue gun (depends on whether you wish for your child to take the item off and play with). We also took a small toy car, reversed it and secured onto the board with cable strip (poke two holes on either side of the object). The spinning wheels were a hit!
Crafty Tips
- It’s best to secure your objects as strongly as possible, because your little ones might test the structural integrity of the items on the board!
- This craft works best for tykes who are 18 months and older.
Make sure to follow @littlecitytales for more crafting and style inspiration! Also be sure to sign up for the Retykle newsletter so you never will miss out on craft ideas, styling and lifestyle tips, and more!

Leave a comment