Milk Carton Gingerbread House by @littlecitytales
Milk Carton gingerbread house
Stephanie of @littlecitytales put together this beautiful and upcycled craft for you & your tykes. Here's the step-by-step guide & let's get crafty! Watch her video tutorial or follow the steps below.
WATCH HEREFirst, get the materials ready!

- Milk Cartons
- Gesso (Optional)
- Scissors
- Decorations – gem stickers, poms-poms, buttons, stickers, string
- White gel pen or fine liner
- Card boxes (cereal boxes/snack boxes work great)
- Paint and paintbrushes
- Glue gun
Here're the steps:
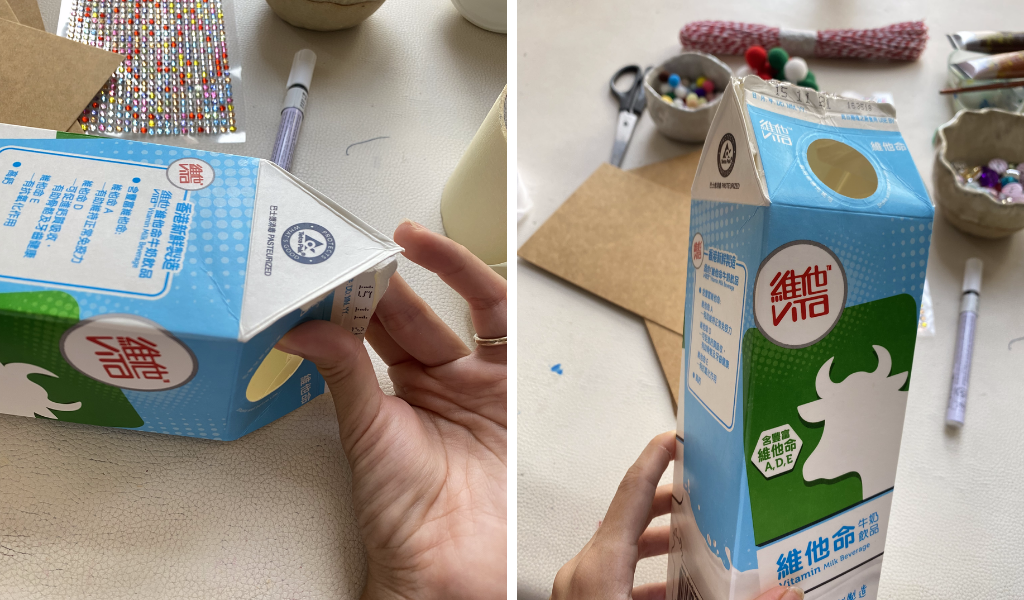
#1 Wash and dry your empty milk carton. Then open the top. Gently take out the circular sprout. Or you can keep it as a chimney too!
#2 Cut along the slanted crease lines on your milk carton. Repeat on the other side.

#3 Hot glue all the sides together to form the eves.

#4 Paint your milk carton with a layer of gesso. Gesso is similar to white acrylic paint, but it’s a sort of plaster that will adhere to surfaces with a wax coating, making it much easier to paint over.
#5 Once dried, paint over the gesso with brown paint. Even our 2yo loved this but be prepared it might get a bit messy!

#6 Whilst the milk cartons are drying, cut up an old snack or cereal box. Cut a long rectangle strip wide and long enough to form the roof over your eve.

#7 Paint your roof white, or you can simply stick down cotton balls to form a snowy rooftop. Then decorate with gem stickers, jewels, buttons, beads or anything you like! The kids loved all the vibrant colours and making their own patterns.

#8 Once your brown paint is dry, time to get creative! Stick on décor and draw on additional patterns with a white gel pen or fine marker! You may wish to sketch out your design on a piece of paper beforehand, allowing room for mistakes. Then glue gun your roof onto the milk carton!

#9 Our eldest requested to cut holes for her windows and put in tea lights, so that’s a bonus step that can turn your gingerbread house into a nightlight!
#10 Remember to have fun and enjoy the craft process!

*This craft is inspired by @amandaformaro
Stephanie Poon, city mum with three kids in Hong Kong, runs a personal blog @littlecitytales & shares all kinds of creative upcycled crafts ideas & tutorials for kids & parents.

Leave a comment